Halloween is one of my favorite times of the year. Everyone gets to dress up (including my dog), eat candy, go to haunted houses, Halloween decorations and lights, and there's sooo much pumpkin!
Pumpkin spice coffee creamer, pumpkin spice muffins, Pumpkin Rice Krispie Treats, Pumpkin Waffles, Pumpkin Pie, etc...
Check out some pumpkin carving ideas and at the bottom there's a simple recipe for roasting the seeds that you take out for carving.
Pumpkin Carvings are one of the best ways to show off some creativity and to make the house look festive. Here are just some of the ones I've done in the past few years. Before starting, wash your pumpkin, lay down newspaper (for the carving process), and get out the items needed for carving. Cut off the top around the stem and take out ALL of the pumpkin seeds (scraping along the edges). Rinse with water and turn upside down to drain.
This one was pretty easy. Pick a word of your choice and carve at the top. Then I drew my own intricate leaf designs onto the pumpkin for carving (I've heard this can be made easier by using cookie cutters and a mallet to press the design in). You can't tell from this picture, but I actually cut the top opening into a leaf shape as well (instead of your standard circle).
Classic Cannibalistic Pumpkin. You get one medium sized carving pumpkin and a smaller pie pumpkin. Measure the height of the smaller pumpkin and add a centimeter to get the height of the mouth on the larger pumpkin. Measure the width of the smaller pumpkin to get the fit for the teeth on the larger. The eyes and nose are pretty basic, you can change them up however you want to add some expression. Add a candle to each pumpkin to enhance the effect at night.
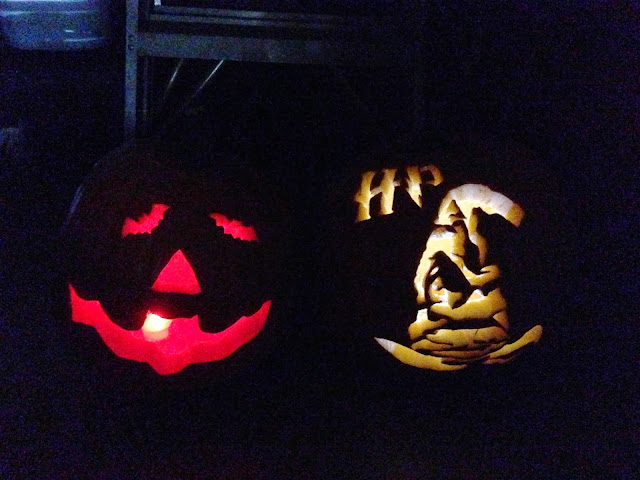
The Jack-O-Lantern with a twist on the left and the Harry Potter Sorting Hat on the right.
(Left) The classic Jack-O-Lantern is very overused so I decided to turn the mouth and eyes into bats. Just try to match your angles and proportions as closely as possibly.
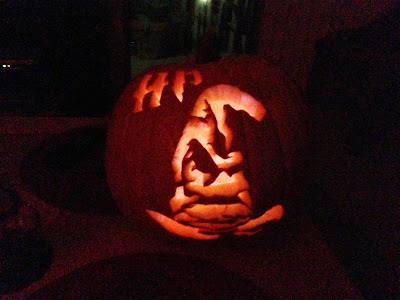
(Right) The Harry Potter Pumpkin was a bit more time consuming, but completely worth it. The hardest part was the thin layers. I HIGHLY recommend using an electric pumpkin carver versus the cheap ones in the normal kit. They make any carving easier, especially since the carving had a lot of little pieces. I also recommend sketching your design on the pumpkin prior to carving. It's harder to screw the pumpkin up that way. Another thing that's handy to have around is toothpicks. If you have a thin layer that doesn't want to stay in place, you can use a toothpick for proper placement. With these I used color-changing tea-light candles (the battery operated kind). They last longer than the regular candles and the different colors really make your carvings stand out.
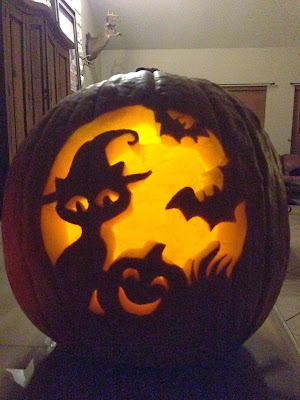
Don't forget, you can definitely use stencils (like the one shown above). They have some really cute designs that are easy to do for kids. This saves some time since you don't have to come up with a drawing, draw it, then carve.
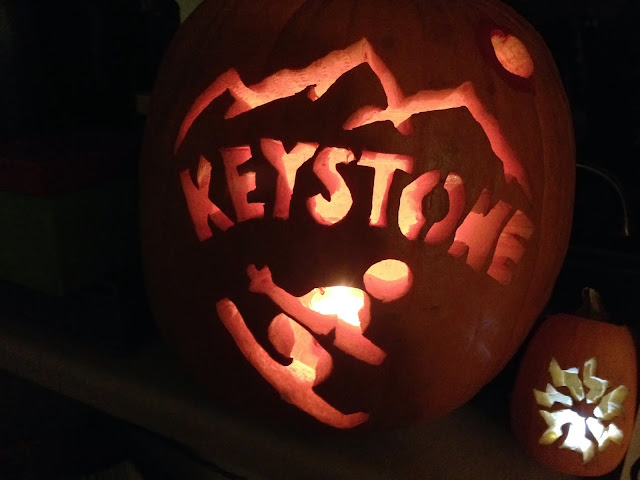
Or you can get creative and design a drawing for your pumpkin. The pumpkins above were a design I came up with since my Boyfriend and I's home away from home is on the slopes in Keystone, Colorado.
Just have fun with it!
Now you're left with the aftermath of the carving, the leftover seeds, the pumpkin pieces, and messy hands. Hopefully you used newspaper so it's a fairly easy clean up. **If you want your pumpkin carvings to last longer (without mold), Vaseline is great for locking in moisture so you don't have that droopy pumpkin look.
Save the seeds!! The pumpkin seeds make for a great snack!
Roasted Pumpkin Seed Recipe
Pumpkin Seeds from 1 Medium Pumpkin
2 Tablespoons melted butter or olive oil
1/2 Tspn. Sea Salt
1/2-1 Teaspoon Cayenne Pepper (optional)
Preheat oven to 350 Degrees.
Clean your pumpkin seeds: rinse off seeds, then place in boiling water for 5-10 minutes. Drain the seeds with a colander and dry excess water with paper towels.
Toss the pumpkin seeds with the olive oil (or butter) and add the seasonings. The more cayenne pepper, the spicier they will be. I like adding it because it's a good metabolism booster.
Line a baking sheet with foil and spread the seeds across. Bake for 20- 30 minutes until brown (don't let them get too brown).
Enjoy, and Happy Carvings!


Thank you for the comment, I'm glad you like the ideas! You're more than welcome to share them!
ReplyDeleteDo you have a stencil for the sorting hat? I've been looking for one, but can't find it. I can only find your picture. It looks great! I am doing Dobby this year too and want to do the sorting hat beside it. Please help! I like doing more elaborate pumpkins each year, and this fits the search!
DeleteUnfortunately I do not. I just free handed the design and drew it on my pumpkin before carving.
Delete